

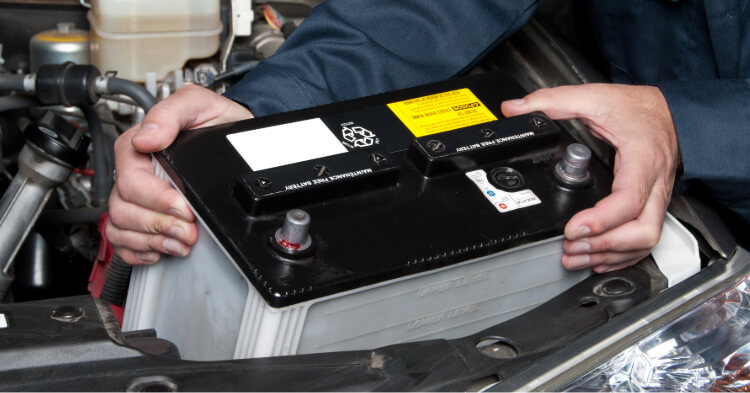
Dealing with a dead car battery? Learn the top 5 things that are killing your car battery and how to prevent them. Our guide reveals the main reasons and simple steps to keep your battery reliable.
Knowing how to jump a car can be a huge help to you or someone you know. Here are some helpful hints if the situation ever comes up.
Before handling those jumper cables, some essential preparations need to be made. Proper positioning of the cars and adherence to safety measures can determine the difference between a successful jump and possible harm to your vehicle’s electrical system.
Imagine playing a game of “Operation” with two cars. The key to a successful jump start is to park both vehicles close but not touching each other, to prevent accidental contact that could lead to electrical sparks or damage to the vehicles. Aim for a distance of around 18-24 inches, about the length of an adult’s arm, to maintain a safe distance while allowing easy access to both battery terminals.
With the cars positioned, the next step is ensuring safety. Apply the parking brakes and switch off both engines. The parking brake serves as a safety measure, preventing the vehicles from accidental movement during the jump-start process. Consider it as your safety net, akin to a trapeze artist performing with a safety net below.
Just like how a chef refers to a recipe before starting to cook, you should consult the owner’s manual of both vehicles for any specific instructions or precautions before you jump start a car. The owner’s manual can provide insights into safely jump-starting your car, as procedures may vary based on the make and model of the vehicle. Think of it as your road map to a successful jump start.
The success of a jump start depends on the proper connection between the batteries of two vehicles. It’s imperative to comprehend the components of a car battery, especially the positive (+) and negative (-) battery posts. These are the connection points for the battery cables and understanding them is as significant as differentiating your left from your right while driving.
Locating the battery terminals is just like finding the right house in a neighborhood. The battery terminals are typically located under the hood of the car, just like houses are typically found in residential areas. The positive terminal is usually marked with a “+” symbol, while the negative terminal is marked with a “-“ symbol.
Once you’ve located the battery terminals, it’s time to identify which is the positive and the negative. In car language, positive is red and marked with a “+” symbol, while negative is black and marked with a “-“ symbol. It’s just like identifying apples from oranges, each has its own unique color and symbol.
Understanding terminal markings and colors is like learning a new language. The positive terminal is usually red or marked with a “+” sign, while the negative terminal is usually black or marked with a “-“ sign. This color-coding is meant to prevent any accidental reverse polarity connections, which can cause damage to the car’s electrical system.
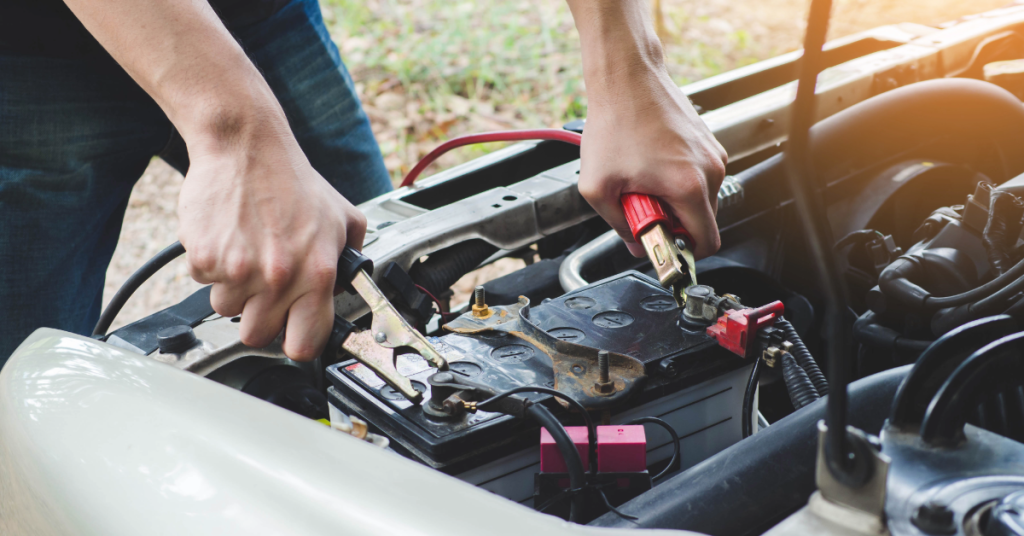
Now that we’ve identified the terminals, it’s time to connect the jumper cables. Just like threading a needle, there’s a correct order to this process that needs to be followed for a successful jump start.
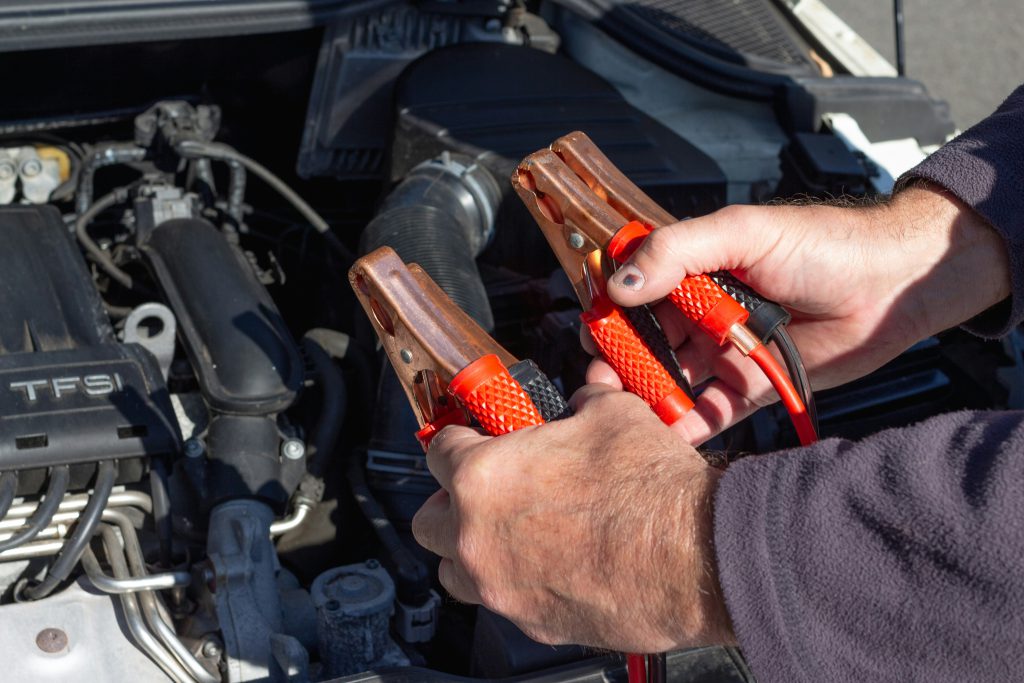
The first step involves connecting the red clamp to the positive terminal of the dead battery. Once secure, we proceed to the subsequent step. This initial move is akin to the first step in a complex dance, setting the rhythm for the following steps. Ensure that the red clamp is tightly connected to the terminal for an optimal connection.
Then, the other end of the red cable is connected to the positive terminal of the functional battery. This act is comparable to passing the baton in a relay race, where the charged battery transfers its electrical energy to the dead battery through the red cable.
Then, we secure the black clamp to the good battery’s negative terminal. This is the ground connection that completes the circuit, like the ground wire in an electrical system.
Finally, we place the remaining black clamp on an unpainted metal surface of the dead car, away from the battery. This acts as a ground point for the electricity to return to the dead battery, like the return path in an electrical circuit.
Once the cables are correctly connected, the engines are ready to be started. This is the pivotal moment when we attempt to resuscitate the dead car.
First, we start the engine of the working car and let it idle for a few minutes. This is like warming up before a workout, allowing the alternator to generate electricity and recharge the working battery.
Now, we attempt to start the dead car. It’s like trying to wake up someone who’s in a deep sleep. It might take a few tries, but don’t give up just yet.
Finally, we let both engines run for several minutes to charge the dead battery. It’s like letting a phone charge so it has enough juice to last the day.
Once the car has been jump-started successfully, certain measures should be taken to prevent future battery problems. Similar to recovery after an intense workout, there are steps to follow to maintain your car’s health after a jump start.
First, we drive the car for at least 15 minutes. It’s like taking a victory lap after a winning game, allowing the alternator to fully recharge the battery.
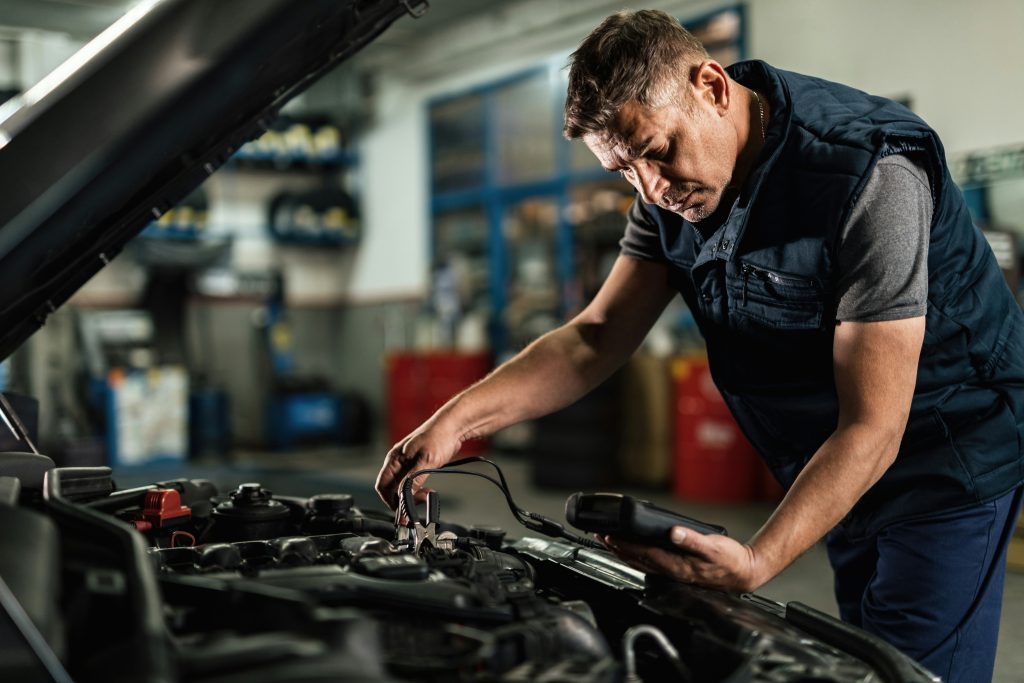
Next, we check the car’s battery and charging system. It’s like checking your vitals after a run, making sure everything is functioning properly.
Finally, we consider replacing an old or damaged battery with a new battery. It’s like replacing worn-out running shoes, protecting you from future problems and enhancing your performance.
In this blog post, we’ve guided you through the steps of safely jump-starting a car. From preparing your vehicles and understanding car batteries to connecting jumper cables and starting the engines, we’ve covered everything you need to know to revive your ride.
For jump-starting a car, connect the red clamp to the positive post on the dead battery, and the other red clamp to the positive post on the working battery. Connect the black clamp to the negative post on the working battery, then to an unpainted metal surface of your car.
For safety, the negative (black) jumper cable should be removed from the car first, followed by the positive (red) cable from the battery terminal. You may also want to have the car inspected if the battery is not responding.
Attach the red jumper cables to the positive side of the non-working and working batteries respectively, followed by the black cable to the negative side of the working battery.
Dealing with a dead car battery? Learn the top 5 things that are killing your car battery and how to prevent them. Our guide reveals the main reasons and simple steps to keep your battery reliable.
If you’ve ever purchased a vehicle, you’ve likely been offered a warranty. But between the sales pitch and the fine print, it can be difficult to determine if these protection plans are actually worth your money. This guide breaks down everything you need to know about car warranties to help you make an informed decision.

Winter driving presents unique challenges, and staying safe on the road requires updated knowledge and preparation. This guide will cover vehicle preparation, driving skills, and essential safety measures. Equip yourself with these tips to navigate snow and ice confidently and safely.

Choosing between AWD and 4WD depends on your driving needs. AWD continuously powers all wheels, making it suitable for urban and diverse conditions. 4WD powers all wheels only when needed, ideal for off-roading. This article will explore AWD vs 4WD differences to help you decide the best option.

Manual or automatic is a crucial decision that can significantly impact your driving experience. So, let’s put the pedal to the metal and navigate the winding road of this manual or automatic transmission tussle.
All drivers are required to be insured. Make sure you understand the ins and outs of car insurance before hitting the road.